How to add llms.txt file to Webflow in just 5 steps

Step 1: Create the llms.txt File
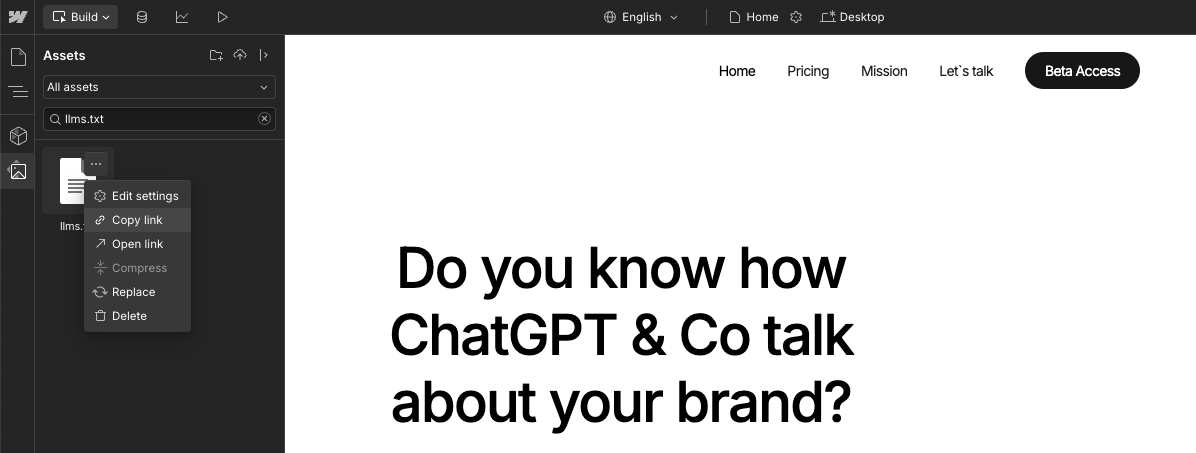
Step 2: Upload llms.txt to Webflow Assets
1. Open the assets panel and upload the llms.txt file.
- Click Upload, then choose your
llms.txtfile.
2. Once uploaded, right-click the file and choose Copy URL. You’ll need this in the next step.
Step 3: Add a Redirect for /llms.txt
Since Webflow doesn’t support direct root-level file uploads, we use a redirect trick:
- Go to Site Settings → Publishing tab.
- Scroll down to the "Add Redirect Path" section.
- In Old Path, type llms.txt and then add the link.
-
-
a! Make sure to save and publish your site.
🔎 Step 4: Test Your Setup
Open the browser and type in your domain followed by llms.txt
https://yourdomain.com/llms.txt
Now you should be able to see your created llms.txt file. AI tools will now be able to find and use your optimized documentation!